Collection: Golf Simulator Wall & Ceiling Protection

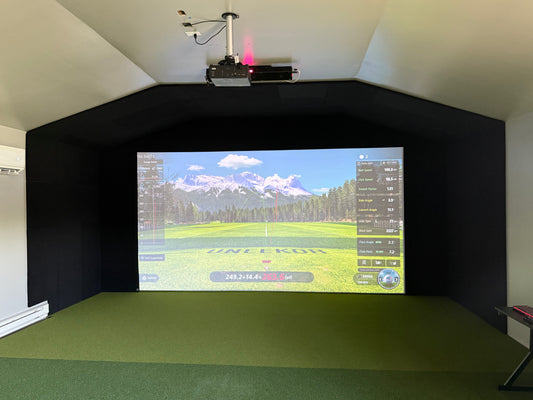
A great golf simulator doesn't stop at the launch monitor and impact screen. Protecting the walls and ceiling is just as important, especially if you're practicing regularly or using high-lofted clubs. Even well-struck shots can glance off the screen or travel higher than expected, leaving dents in drywall, damaged trim, or chipped paint. Similarly, ricochets can damage nearby equipment or injure the golfer in smaller simulator rooms.

One Stop Sim Shop builds golf simulator wall protection including Pro Foam Panels, Pro Firm Panels, decorative Shiplap Panels, custom-sized options, and high-impact golf netting for home golfers, commercial facilities, teaching studios, and DIY simulator builders. 

Browse the full range of golf simulator wall padding below or send us your dimensions for custom setup.

Golf Simulator Wall & Ceiling Protection

Choosing the Right Wall & Ceiling Protection for Your Simulator

Most simulator rooms need protection in three places: the wall surface beside and behind the screen, the ceiling above the hitting area, and any open side through which a ball can escape. 

The ideal amount of padding varies based on your room dimensions, ceiling height, and playing style. A space used for short-game practice requires less coverage than a full-swing garage simulator where drivers and long irons are used regularly. 

Foam Wall Panels: Pro Foam vs. Pro Firm

Foam panels are the most common type of golf simulator wall padding that’s built specifically to withstand repeated high-speed impacts while helping reduce ricochets.

Pro Foam Panels feature a 2-inch closed-cell foam core that offers maximum impact absorption around the screen where mishits are most likely to occur. Standard panels are 16" x 24", and the custom-sized version lets you specify the exact dimensions, making them a practical option for rooms with unique layouts or obstacles such as windows and support columns.

Pro Firm Panels are 1-1/4" thick and 24" x 24", with a firmer surface and a flatter finished look. This specific construction provides a cleaner architectural appearance while still protecting surrounding walls. They're often used in lower-risk areas where golf balls strike less frequently or when homeowners prefer a more structured finish that complements trim systems.

If appearance is just as important as protection, Shiplap Foam Panels provide the same protective benefits with a decorative finish that blends into modern golf simulator rooms. Many golfers also combine foam panels with screen frame padding to protect the frame and create a seamless transition between the screen and surrounding walls.

These soft foam panels deaden the strike rather than bouncing it, effectively reducing the sharp noise. If noise is a concern, our guide on reducing simulator noise explains additional ways to build a quieter simulator room.

Ceiling Protection and Baffles

Walls aren't the only surfaces that need protection. High-lofted wedges, flop shots, and occasional mishits can send golf balls directly toward the ceiling, especially in rooms with ceilings under 10 feet. Without proper golf simulator ceiling padding, repeated impacts can damage plywood, exposed joists, lighting fixtures, and other overhead finishes.

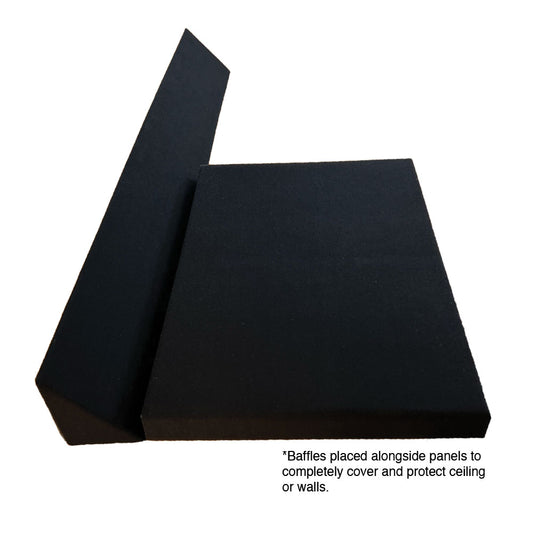
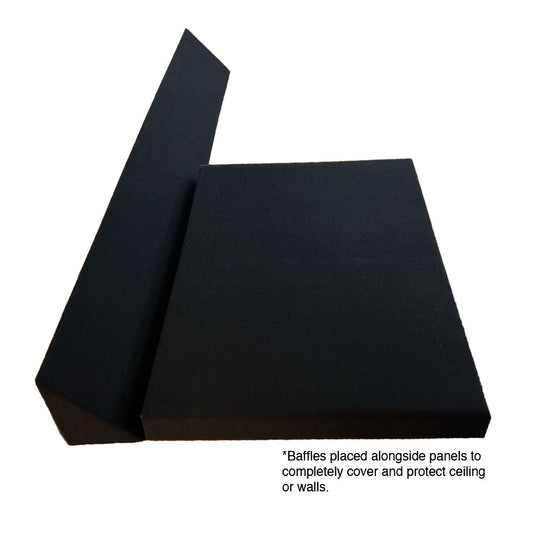
Ceiling baffles provide protection while helping control ball flight after impact. As such, Better Baffles are the triangular foam pieces that direct the raising ball toward the screen or down toward the floor rather than ricocheting back at the golfer. 

Many DIY builders install ceiling baffles only in the hitting area between the golfer and the impact screen, where lofted shots are most likely to occur. This targeted approach provides effective ceiling padding for a golf simulator room without covering the entire ceiling. 

High Impact Golf Netting

Foam panels aren't always the right solution for every part of a simulator room. In open garages, unfinished basements, commercial facilities, or teaching bays, high quality golf simulator netting often provides better coverage than wall panels.

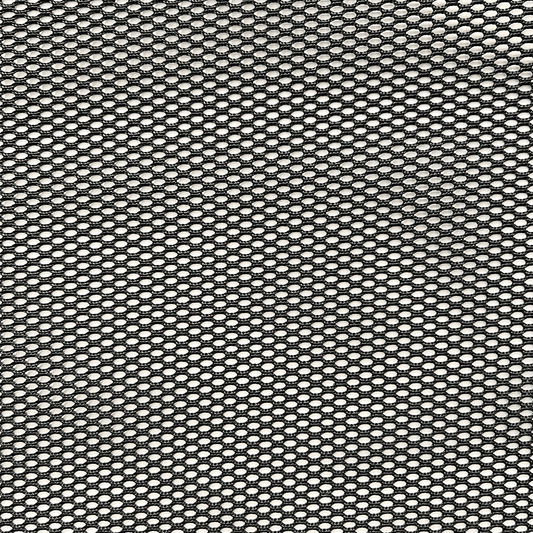
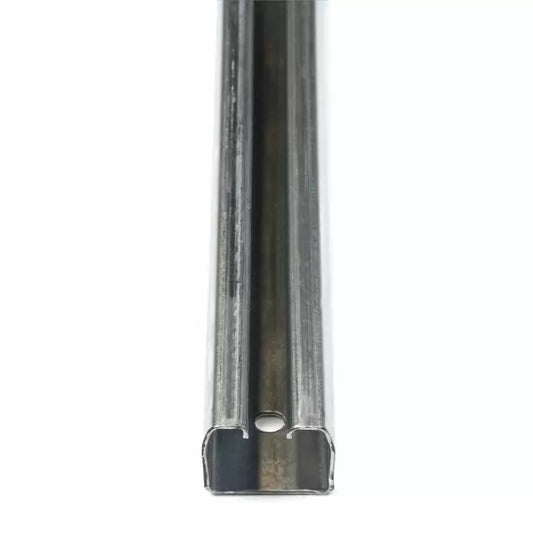
Our Jason Mills 1996 High Impact Golf Netting acts as a barrier, catching errant shots while maintaining an open layout that feels less confined than fully enclosed walls. Many builds pair netting with blackout curtain fabric so the sim area looks finished and the projector image stays sharp with the lights on. Curtain accessories cover the track and hanging hardware.

If you are enclosing the hitting area completely rather than protecting individual surfaces, our golf simulator enclosures may be a better choice.

How to Install Golf Simulator Wall Padding

Unlike permanent wall systems, many golf simulator wall panels are designed for quick installation and can be removed or rearranged if you decide to upgrade or expand your simulator in the future.

Measuring and Ordering

Before ordering, measure the sections that require protection. Most simulator owners prioritize the wall surrounding the impact screen, side walls closest to the hitting area, and any ceiling sections where lofted shots could make contact. Measure the height and width of each zone and work out the square footage. 

Many installations work well with a standard panel size, measuring 16" x 24" for Pro Foam and 24" x 24" for Pro Firm. Custom sizing earns its keep around obstacles such as outlets, light switches, window returns, door casings, sloped ceilings, and angled walls.

If your setup includes golf simulator impact screens, plan your wall protection alongside the screen installation so both systems fit together cleanly. Since custom panels are made to order with a roughly 4-week lead time, plan your order ahead of your install date to reduce delays.

Installing Wall Pads with Adhesive Velcro

Pro Foam Panels are designed for quick installation using adhesive-backed velcro, so there's no need to drill into your walls or build a permanent mounting system.

Follow this process to install golf simulator panels:

  1. Prepare the surface. Clean the wall thoroughly to remove dust and debris so the adhesive bonds securely.
  2. Install your impact screen first. If you're building a new simulator, mount your golf simulator impact screen and frame before installing the wall panels. This makes it easier to align the panels around the screen for a professional appearance.
  3. Apply the adhesives. Peel and attach the adhesive-backed strips to the wall according to the recommended panel layout.
  4. Mount the panels. Press each panel firmly into place, starting at the primary impact zone and working outward. Use a level when installing the first row to keep other wall panels properly aligned.
  5. Adjust as needed. Because the panels aren't permanently attached, they can be removed and repositioned if you need to access wiring, repaint the room, or reconfigure your simulator layout.

Frequently Asked Questions

What is the best material for golf simulator walls?

Closed-cell foam featuring a heavy-duty fabric covering is considered the best choice for golf simulator walls because it absorbs high-speed golf ball impacts, reduces ricochets, and helps lower noise levels. 

Do I need padding on the ceiling for a golf simulator?

Yes. Golf simulator ceiling padding helps protect drywall, joists, and lighting fixtures from high-lofted shots that can travel above the impact screen. This is especially important in rooms with ceilings under 10 feet, where ricochets are more common. Corner/frame padding is essential for protecting against rebounds. 

What is foam padding for a golf simulator?

Golf simulator foam padding consists of closed-cell foam panels designed to protect walls and ceilings from repeated golf ball hits. Pro Foam Panels use a softer 2-inch construction for maximum absorption in primary impact zones, while Pro Firm Panels feature a firmer 1-inch design for surrounding areas. Standard and custom-sized panels make it easy to protect rooms of almost any shape or size.

How do I make padded walls for a golf simulator?

Start by measuring the golf simulator room, including any outlets, windows, corners, or other obstacles. Choose standard or custom-sized wall panels, then install them using the included adhesive-backed velcro. Peel-and-stick wall pads usually take 1-3 days to fully expand, so make sure to check the alignment once applied.

When should I use netting instead of foam panels?

Foam panels work best on walls and ceilings near the impact screen, where golf balls strike with the most force. Golf simulator netting is better suited for open-sided simulator setups, garage sim, or behind the golfer to catch errant shots without enclosing the entire space. Many owners combine both solutions for comprehensive protection.